

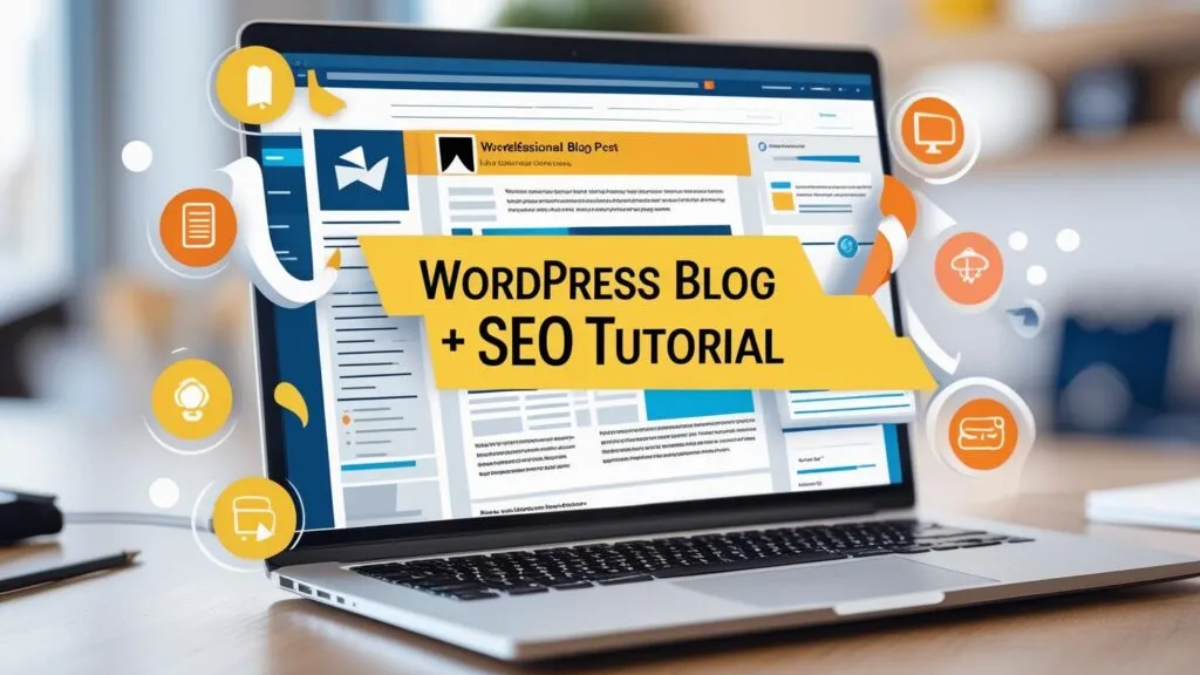
Are you ready to share your voice with the world? WordPress makes it incredibly easy to create compelling blog posts, but truly effective posts go beyond just writing. This WordPress Blog Post Creation Guide will walk you through every step, ensuring your content is not only engaging but also fully optimized for search engines.
1. Log In to Your WordPress Dashboard
The first step in our WordPress Blog Post Creation Guide is accessing your site’s backend.
- Open your web browser and navigate to your WordPress login page. This is usually
yourdomain.com/wp-admin(replaceyourdomain.comwith your actual domain name). - Enter your username and password.
- Click “Log In.”
You’ll be directed to your WordPress dashboard, your central hub for managing your website.
2. Navigate to the Posts Section
Once logged in, you’ll see a menu on the left-hand side of your dashboard.
- Hover over “Posts.”
- You’ll see a dropdown menu. Click on “Add New.”
This will take you to the new post editor, where the magic of our WordPress Blog Post Creation Guide truly begins!

3. Craft Your Blog Post: Heading, Introduction, and Body
This is where you’ll bring your ideas to life.
a. Add Your Heading (Title)
- At the top of the editor, you’ll see a field labeled “Add title.”
- Enter your blog post’s title here. Make it catchy, informative, and include your key phrase: “Your Ultimate WordPress Blog Post Creation Guide: From Draft to Publish.”
b. Write Your Introduction
- Beneath the title, you’ll see the main content editor. Start by writing a compelling introduction that hooks your reader.
- Briefly outline what your blog post will cover. Remember to naturally incorporate your key phrase early on, for example: “This comprehensive WordPress Blog Post Creation Guide will show you…”
c. Develop Your Blog Body/Content
- This is the core of your post. Break down your content into logical sections using headings (H2, H3, etc.) to improve readability.
- Write clear, concise, and valuable content. Aim for a conversational tone.
- Strategically integrate your key phrase naturally throughout the body content. For example: “Following this WordPress Blog Post Creation Guide will ensure your posts are well-received…”

5. Fixing Broken Links (Post-Update Check)
Images enhance readability and engagement.
- Place your cursor where you want to insert an image.
- Click the “+” icon (block inserter) and select “Image.”
- You can then “Upload” a new image from your computer, choose one from your “Media Library” (if you’ve uploaded it before), or “Insert from URL.”
- Crucially, add Alt Text to every image. This is vital for SEO and accessibility. Describe the image accurately, and if relevant, include your key phrase: “Screenshot of the WordPress dashboard, illustrating the WordPress Blog Post Creation Guide.”
5. Optimizing for Search Engines (SEO)
This is a critical part of our WordPress Blog Post Creation Guide to ensure your post gets found. We’ll assume you have an SEO plugin like Yoast SEO or Rank Math installed (highly recommended!).
a. Select Your Key Phrase (Focus Keyword)
- In your SEO plugin’s section (usually below the main editor), you’ll find a field for “Focus Keyphrase” or “Primary Keyword.”
- Enter your chosen key phrase: “WordPress Blog Post Creation Guide.” This helps the plugin analyze your content for optimization.
b. Craft Your SEO Title
- The SEO plugin will likely generate a default SEO title. Refine it to be compelling and include your key phrase at the beginning: “WordPress Blog Post Creation Guide: Your Ultimate Step-by-Step Tutorial.”
c. Write Your Meta Description
This short snippet appears under your title in search results. It should be concise, enticing, and include your key phrase: “Unlock the secrets to successful blogging with our comprehensive WordPress Blog Post Creation Guide. Learn to create, optimize, and publish engaging posts.”
d. Internal Linking and Interlinking
- Internal Linking: Link to other relevant pages or posts within your own website. This helps search engines understand your site’s structure and keeps users on your site longer. For example: “If you’re new to WordPress, check out our guide on [Link to ‘How to Install WordPress’].”
- External Linking: Link to authoritative external sources when appropriate. This adds credibility to your content.
e. Alt Text on Images (Revisited)
As mentioned in Step 4, ensure all your images have descriptive alt text, ideally incorporating your key phrase when natural.
f. Slug (Permalink)
Below the title field, you’ll see the permalink/slug. Ensure it’s short, descriptive, and includes your key phrase: yourdomain.com/wordpress-blog-post-creation-guide.

6. Assigning Categories and Tags
These help organize your content and improve navigation for users.
a. Categories
- On the right-hand side of your editor, you’ll see a “Categories” box.
- Select the most relevant category (e.g., “WordPress Tutorials,” “Blogging Tips”).
- You can also “Add New Category” if needed.
b. Tags
- Below “Categories,” you’ll find the “Tags” box.
- Add relevant keywords that describe your post (e.g., “WordPress,” “Blogging,” “Content Creation,” “SEO,” “How To”). Think of them as index terms.
7. Adding Other Important Elements (Optional)
a. Featured Image
- On the right-hand sidebar, find the “Featured Image” box.
- Click “Set featured image” and upload or select an image. This image will represent your blog post on your blog roll and social media shares.
- To get quality images for your site or Feature images, read our blog Top 8 sites to get free images
b. Adverts (If Applicable)
- If you monetize your blog with advertising, you might insert ad code directly into your post using a custom HTML block, or your ad management plugin might handle automatic ad placement.
8. Review and Publish!
You’re almost there!
- Review your post thoroughly. Check for typos, grammatical errors, and ensure the flow is logical.
- Read through your SEO plugin’s analysis (e.g., Yoast’s “Readability” and “SEO” scores) and make any recommended improvements.
- Click the “Preview” button (usually in the top right) to see how your post will look live.
- Once you’re satisfied, click the “Publish” button (also in the top right).
Congratulations! You’ve successfully created and published an SEO-optimized blog post using our WordPress Blog Post Creation Guide. Now go forth and share your amazing content with the world!
Found this guide helpful?
- Share it with other WordPress users who might benefit!
- Leave a comment below with your own favorite step, the section you liked most, or any questions you have.
- Subscribe to our YouTube channel for more essential WordPress tutorials and website tips!
- Need professional assistance with your WordPress website? Contact Us.
- Learn More Web Design Services
How SEO Services Can Transform Your Small Business in Kenya
Why a One-Page Website Could Be the Best Investment for Your Business in Kenya
Features That Sell Properties Faster: Real Estate Websites
What to Consider When Hiring a Web Designer in Kilifi (Expert Guide)
How to Write Blogs That Rank on Google, Get Cited by AI, and Convert Readers into Clients
How to Build a WordPress Website in 2025 (Step-by-Step Guide for Beginners & Businesses)

Add a Comment